The question of how we created 3D visualizations is asked not only by our clients but also very often by friends during private meetings who are interested in the topic. Of course, it is impossible to give a definite answer and indicate one correct path of the visualization process. Moreover, in the case of different companies, the execution of the order is entirely different. Therefore, in the article below, we focused on how we work with the client and explained how, step by step, 3D graphics are created in Double Prism.
We chose a product visualization as an example, although the stages of work in the case of architectural visualizations or interior visualizations are very similar. If you are interested in what our work looks like, we invite you to read the article.
1. Prepared the offer
The first conversation with the client is usually preceded by an inquiry sent to us by e-mail. Our clients typically prefer this form of communication because it allows you to attach materials or inspirational photos that are very helpful in describing expectations. At this stage, on our part, we usually explain the course of the entire cooperation process, clarify specific issues to understand the client’s needs, and prepare a valuation of a particular order. Information such as:
- Expected time of receiving ready renderings
- Type of modeled object – in the case of product visualizations, the kind of object that we will visualize
- Number of desired photos
- The budget the client has at his disposal
After receiving digital materials in the form of photos or projects and information about the materials of the product or the state in which the object is to be presented, we try our best to understand the application of the product its properties, and we make sure that we know what the customer expects. Then we prepare a non-binding offer. If accepted, we can go to the second stage of creating the visualization.
2. Modelling
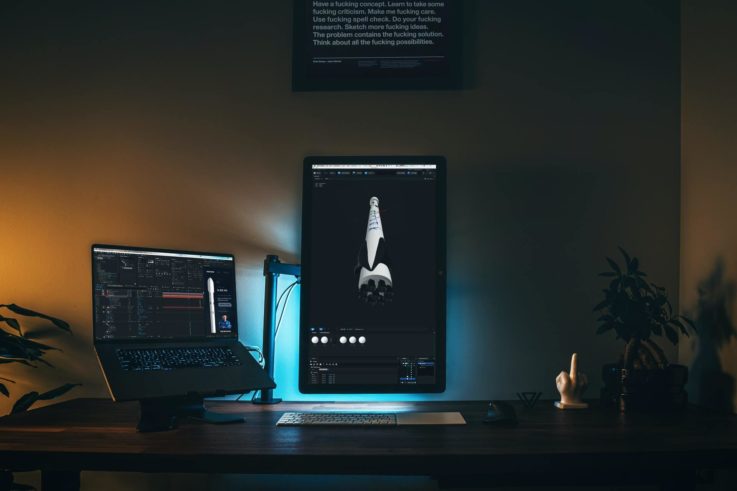
After placing the order, we start modeling. Sometimes customers already have models of their products that they provide to us. In this case, we import them and verify them in terms of usability. If the models are suitable for reuse, we clean them from any imperfections. Thanks to the programs on which we work, we can automate some of these tasks and thus speed up the time of order execution. However, in most cases, the 3D model is manually designed by us from scratch using Blender.
We make the model of the product based on the specification received from the customer. Typically, these are drawings of the object as PDF, DWG, or photo files. Because we have an extensive library of materials, the most basic information is enough to make the model. We perfectly know the specifics of both Xanad and HEX # 738678 and RAL1605015 colors. After completing the work, we send the finished product model for customer approval.

3. Environment arrangement and initial rendering
When the client accepts the model, we can start work related to the arrangement of the environment. After developing the entourage for presenting the product, we set the camera perspective appropriately. From the golden ratio to the simple rule of thirds, we use all our know-how related to product photography at this stage. Finally, our task is to provide the client with the final proposal for the composition of the entire photo.
4. Details and lighting settings
The fourth step is to bring life to the product visualization, taking care of details and lighting. In the case of promotional product visualizations that present objects in an appropriate arrangement, we introduce additional elements to the environment designed to give the entire composition the right atmosphere. We ensure that the individual details are arranged in a creative yet thoughtful and precise manner to complement the whole design. Then we select the appropriate lighting to emphasize the essential elements of the presented product, showing the manufacturer’s intention. We are also re-adjusting the materials to make the overall color concept feel good.
5. Final rendering
As soon as we get the client’s approval of the work done so far, we start rendering the final versions of the images in high resolution. Of course, the duration of this stage depends on the photo resolution we are to deliver to the client. Usually, a render of one photo takes the time equivalent to brewing a good coffee.
We do not send the rendered image to the client right away. It must first be processed correctly in a graphics program like every photo. At Double Prism, we use Affinity Photo for this purpose. We properly select color shades, curves, contrast, and refine other parameters to get the most photorealistic product visualization corresponding to reality finally.

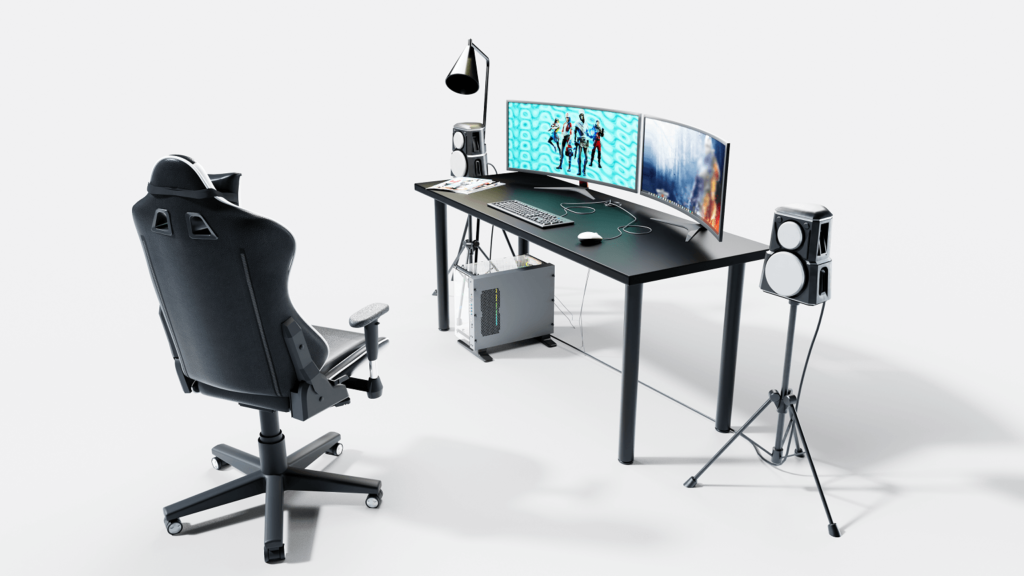
3D visualization of a gaming desk without arrangement 3D visualization of a gaming desk with arrangement

6. Sending the project
Only now is the 3D visualization complete, and we can pass it on to the customer. The transfer takes place via e-mail or by creating a particular folder in our virtual drive from which the customer can download the files. It often takes less than five working days from order placement to delivery.
During the implementation of 3D visualization, close cooperation with the client and transparency of activities is our priority; therefore, we explain the steps taken at each stage and, if necessary, consult individual stages of work. If you are looking for a supplier of high-quality 3D graphics or animation – we are at your disposal. Please do not hesitate to contact us and present your project to us. We will answer all your questions and suggest the best solutions tailored to your needs.
DOUBLE PRISM
![]()