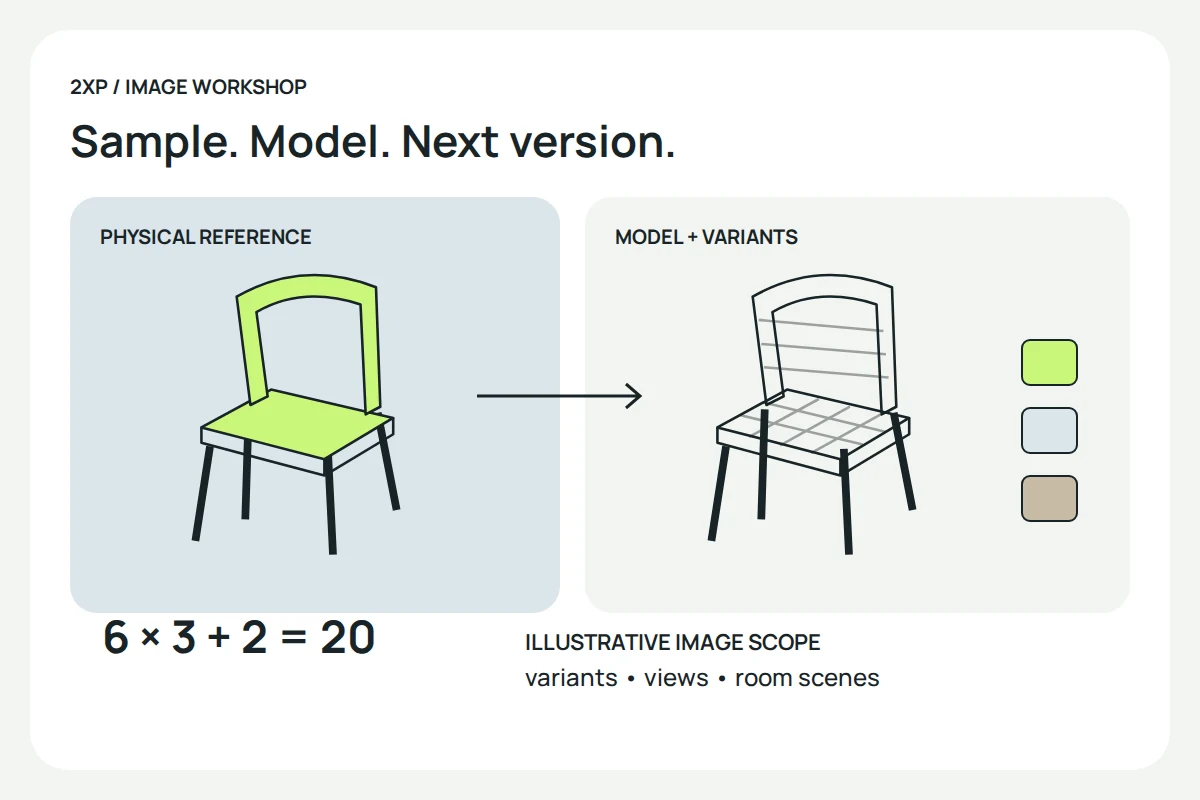
The awkward part of a furniture catalogue is often the second version. The first chair has been photographed, then the leg changes, another fabric is approved and the launch needs a room scene as well as a white-background view. The useful question is which parts of that work can be reused without misrepresenting the chair.
Photography records a physical example; rendering constructs an image from a model, materials, lights and a camera. Choose between them by the evidence available and the changes expected. A combination is worth considering when different images need different kinds of evidence.
Start with the sample you can actually check
Imagine a proposed dining chair with a bent plywood back, a metal base and an upholstered seat. This is an editorial example, not a commission or a product tested by this publication. The manufacturer has approved the drawing, but only one fabric sample has arrived.
A render can explore the proposed silhouette before a finished chair is available. It cannot establish how the eventual upholstery will wrinkle, how a seam will be sewn or whether the manufactured edge matches the drawing. Those are unresolved inputs, even if the image looks convincing. Mark the image as a proposed design until the relevant details are confirmed.
If a finished sample exists, photograph the details that are difficult to describe: the junction beneath the seat, the fabric at a curved edge and the actual surface finish. These references can inform a model without making the reference photographs suitable as the final catalogue pictures. Conversely, a good studio photograph may already answer the main question; rebuilding it in 3D needs a reason beyond fashion.
Separate a colour change from a construction change
In our example, a different finish on the same base is one kind of change. A wider backrest is another. Moving the chair into a furnished scene changes the presentation. Treating all three as “another version” hides the work that needs approval.
- Surface revision: keep the approved geometry, update the material and compare it with the new reference. Check that the change does not silently affect another variant.
- Geometry revision: update the shape, then review the views where its dimensions, connections or silhouette matter. An older approved render may now show the wrong product.
- Scene revision: keep the product specification but review the camera, light, props and crop. A new environment can change the perceived finish even when the material settings stay the same.
Reusable parts need deliberate links. The Blender 4.5 manual explains that editing shared mesh data changes linked duplicates. That is useful for repeated legs, but an independent variant needs its own appropriate data. A scene that looks correct before a revision can still contain a dependency that changes more than intended.
Count deliverables before comparing quotations
Suppose the imaginary chair comes in three approved fabrics and two base finishes, with every combination offered. Six variants, each shown from three fixed viewpoints, produce 18 images. Add two room scenes for one hero variant and the brief contains 20 images. This is arithmetic for this example, not a recommended catalogue size.
The photographer and 3D artist should price the same 20 deliverables. Specify whether physical samples for all six variants exist, who prepares the model, which details need close-ups and how many review rounds are included. Otherwise, a quote for one photographed chair is being compared with a reusable six-variant production system.
The number of variants alone cannot establish the cheaper route. The answer depends on the available samples and model, the difficult details and the changes included in each quote.
A useful comparison separates preparation, image production and later changes. Photography may involve sample preparation, transport, styling and retouching. Rendering may involve modelling, reference gathering, materials, scene construction and computation. Both need review and delivery. Ask what happens if the backrest changes after approval; that single question often reveals more than the headline price.
Use a hybrid brief when the uncertainties differ
For the chair, a reasonable proposed split is to photograph the finished sample and tactile details, then use a verified model for the approved variants and room arrangements. The split is a recommendation to consider, not evidence that this particular workflow is faster or cheaper.
Keep a simple approval record beside each asset: drawing revision, variant, reference sample and outstanding question. A close-up of the real fabric and a render of an alternative finish should not be presented as equally verified evidence of that alternative. If the second finish has no reference, the uncertainty belongs in the review record rather than being hidden by attractive lighting.
Colour review also needs consistent conditions. Blender’s colour-management documentation distinguishes rendering, display and storage spaces and describes view transforms and exposure. Our practical conclusion is to record the settings used for approval and inspect the exported file; changing the display treatment can change the appearance without changing the underlying product.
Make the final decision from one representative image
Before committing to the entire set, agree a small paid production test or another explicitly scoped sample with the supplier. Choose a view that exposes the difficult feature, not only the easiest hero angle. Review the actual resolution and crop, the material references, the time spent and the changes still needed. This article does not report such a test.
The result should be a reasoned division of work: which images require a physical example, which can use the model and what must be approved before either is published. The packshot planning guide helps choose the views; the campaign reuse guide follows the assets after their first release.
Historical context: this independently written guide revisits the question in the former studio’s furniture article. Its general timing and cost claims are not measurements used here. We do not claim to have photographed its products or recovered its original photographs.